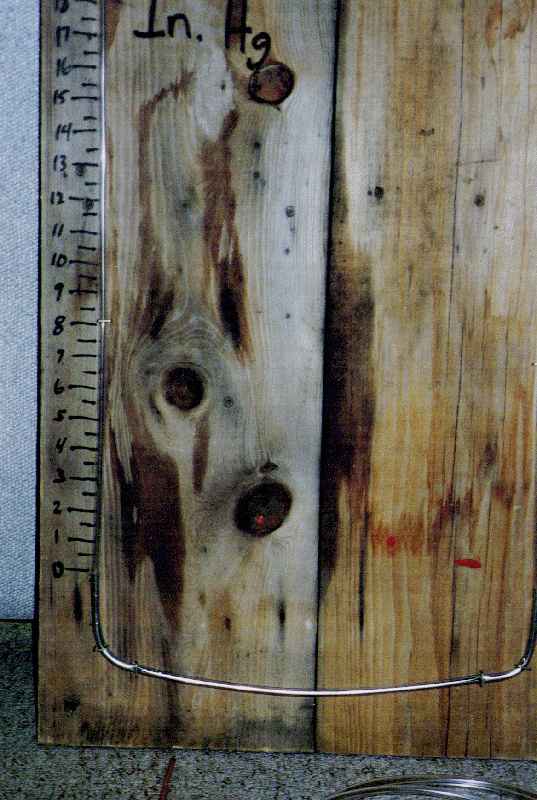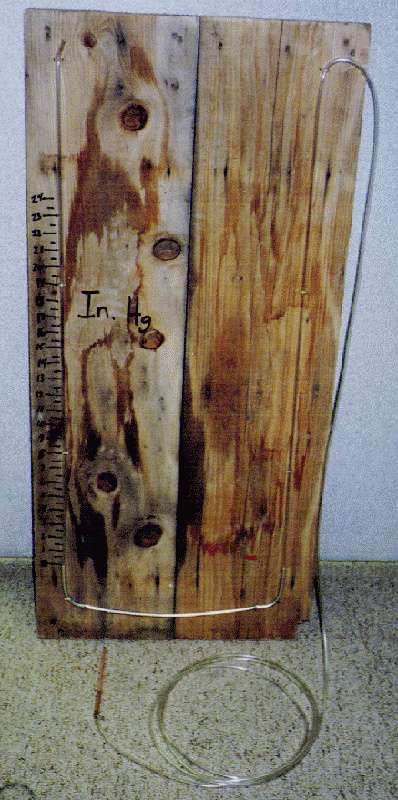

Here's my simple manometer. You can see it is easy and inexpensive to build. Get a 20' piece of clear 3/16" PVC tubing and shape it into a "U". My manometer used Mercury (Hg) which is much heavier than water and used to measure higher pressures. For lower pressures you can use water instead.
So, we have the PVC tubing attached to the backing board (in my case a small sheet of plywood) with staples. Now,
add your water or mercury (depending on what you want to measure and the pressure expected). This will settle at
a certain level. Mark that as "0". Using a ruler, measure each 1/2" up from there.

You can see that I have marked mine in 1/2" increments on the atmosphere side. This is for pressure testing.
If I wanted to measure vacuum, I would have marked it on the other side as the liquid would move toward the source
of vacuum.

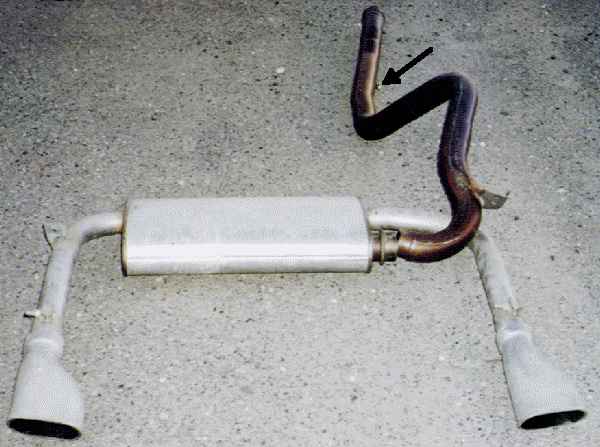
In this picture of the stock exhaust, you can see where I put in one of my pressure test points. I drilled a 3/8"
hole in the pipe, then had a weld-sert welded on. A weld-sert is simply a piece of pipe that has been drilled and
tapped for the brass fitting. The brass fitting is much like a fitting used for oil pressure gauges, etc., just
larger. Here I used a 3/16" brass compression fitting, then about 8" of copper tubing. Connect the 20'
piece of clear PVC tubing to the copper and you are ready to test.
Here are the results of my testing:
| Stock Exhaust: |
Before Catalytic |
Between Catalytic and Muffler |
|
7.5 inches Hg |
3.5 inches Hg |
|
| Borla Exhaust: |
Before Catalytic |
Between Catalytic and Muffler |
|
3.5 inches Hg |
N/A |